Beauty Bar Blogs
8 BEAUTY HACKS FOR OILY SKIN
 |
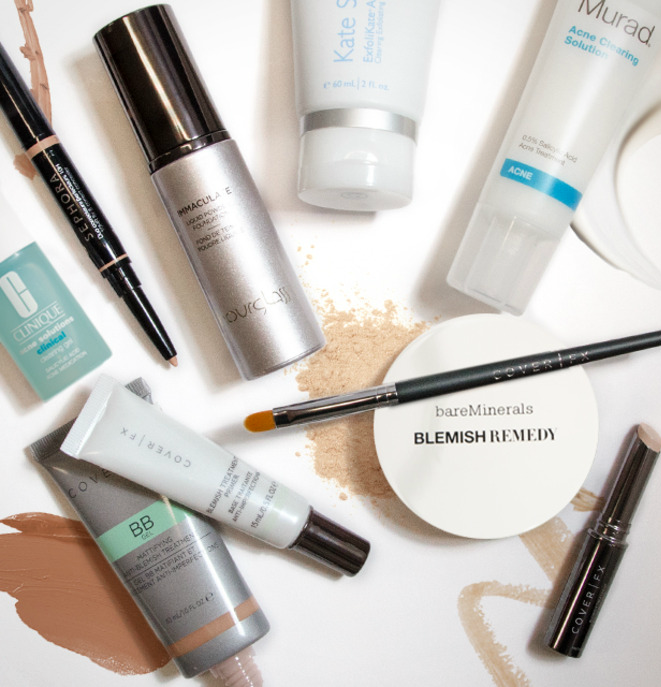
| Source: Sephora |
It’s that time of year again! It’s humid, it’s hot, and makeup doesn’t stand a chance out there. Or does it?
I have exceptionally oily skin. Oily is my name, and grease is my game. I used to complain about my oily skin, but now that I am in my mid 30s, I don’t mind it. It has kept my skin hydrated, and keeps the wrinkles at bay. The only issue is, it keeps the makeup at bay as well.
Fortunately, today I have some new hacks for you! That’s right, you haven’t seen these on every other webpage you visit. These tips are for all those times when primer just isn’t nearly enough!
Eyeliner
Waterproof liner you say? I’m safe if I go swimming, but that’s about it. I have used almost every brand of waterproof liner, and within a couple hours it is sliding off my oily eyelids. So how do I fix this?
Ugh… creasing eyeshadow. Creasing eyeliner. Is there no cure?! I have yet to find a primer that solves this. So what can you do?
Foundation is the bane of my existence. I have yet to find a foundation, other than the Physician’s Formula Super BB All-in-1 Beauty Balm Powder, that does not slick off my skin and leave me with a blotchy face. My number one tip for oily skin is using Rimmel Stay Matte Primer. Even compared to many high-end brands, it is simply the best. For those of us gals that need even more grease-fighting power, here are some more tricks.
4. Never skip moisturizer. It will make your skin even more oily. You don’t want a heavy cream, but most lotions are fine. Or you can use a mattifying moisturizer. If you aren’t prone to breakouts, do not be afraid to use oil either. Just a tiny bit of an oil, like jojoba. It negates the production of oil from your skin.
Now, for the actual tip. After you’ve applied your moisturizer and let it set, take a tissue, and gently blot your face. It just gets rid of that little bit of extra moisture, and it helps to extend your foundation.
5. Makeup setting spray is a must. But not after all is said and done. Spray it on your face after moisturizing and priming, but before concealer and foundation! Let it dry, and apply your foundation as usual. My favorite setting spray is e.l.f. Studio Makeup Mist & Spray. This is my holy-grail makeup setting and prolonging trick!
6. I use this all the time when I’m going to be outdoors: waterproof/sweatproof sunscreen sprays. They are seriously amazing. Nothing is budging under that veil. It’s also my go-to when I travel to hot, sunny destinations. Simply spray it on your face after you’ve finished your makeup routine, and you’re ready to go.
7. Last but not least, this tip is for use in extreme situations. Do not do this regularly, as it will dry out your skin. Mix a little bit of a clay mask with your moisturizer. Massage it into your skin, and let it dry. Add primer, and then foundation. Your oil will be absorbed by the clay, and your foundation won’t see a hint of it.
8. Tap your concealer onto the blemish, then tap on some powder. You can use a sponge or a brush, just layer on these products gently. On top of the powder, add more concealer. Lastly, finish with a dusting of powder to make sure any harsh lines are blended out. And voila!
Note: I always use primer. These tips may or may not be more beneficial with the use of a primer.
Good luck out there! Summer will never know what hit it!
Oh, and be sure to like The Beauty Bar on Facebook and follow us on Twitter and Instagram for more beauty tips and tricks!
 Miki Nyckel | Beauty Bartender
Twitter: @mys2theT | Instagram: @mykynyky